Integrate Twitter/X Login
This guide will cover how to set up your Twitter/X Login for custom authentication provider.
This feature is available on the Pro and Scale plans.
Setup Twitter/X OAuth2 Application
- Login to X Developer Portal and create a new application attached to a project (or default project).
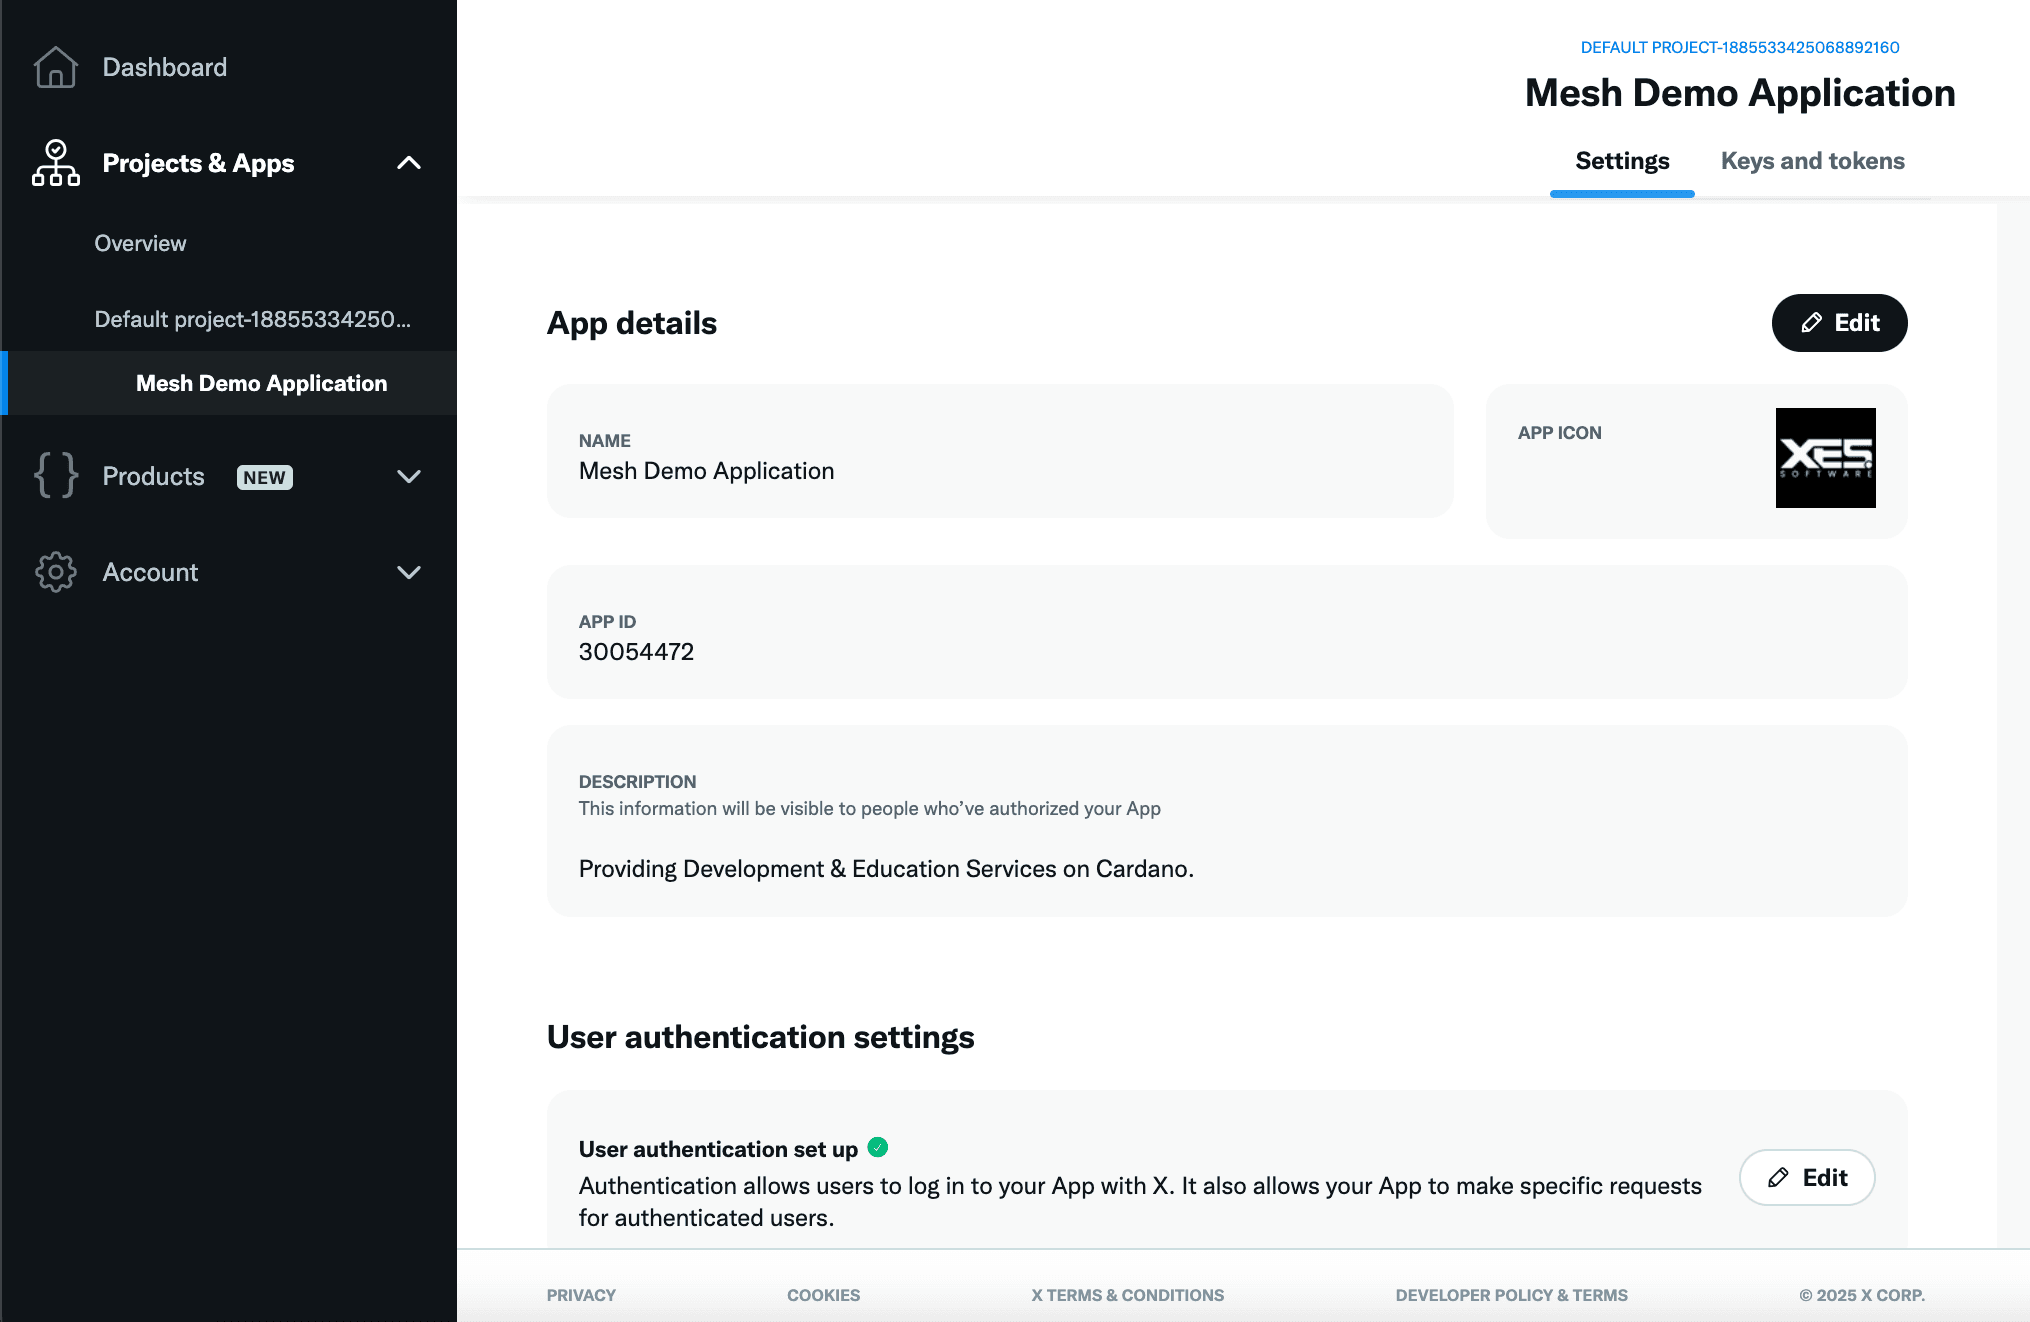
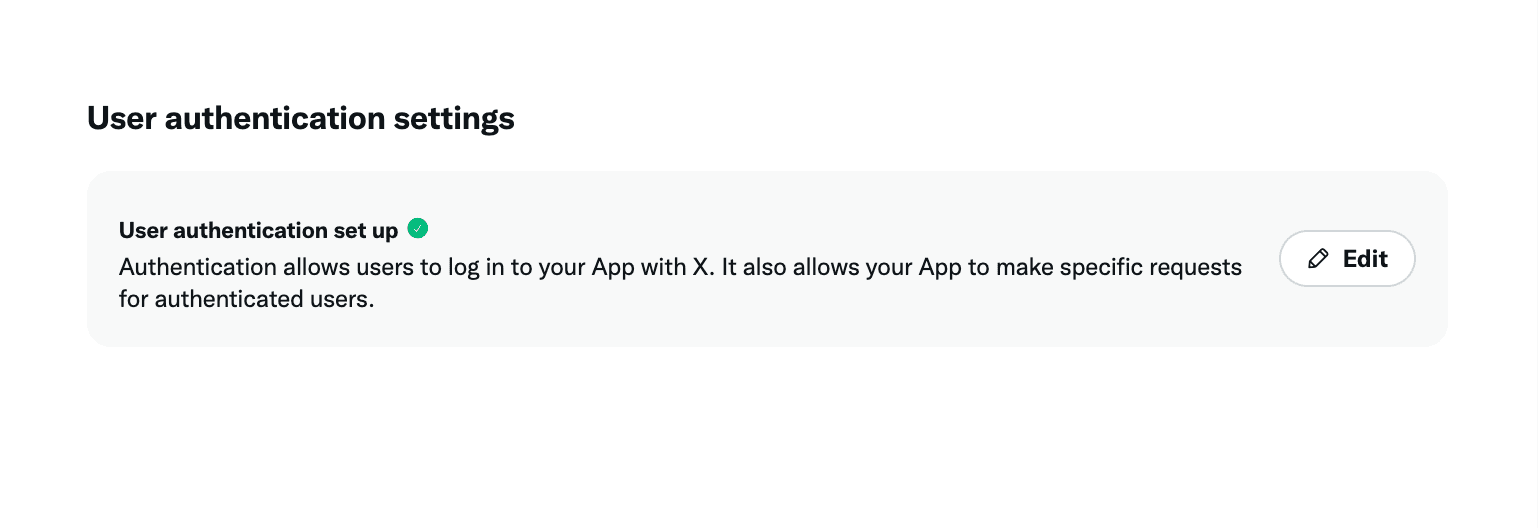
- Navigate to the ‘User authentication settings’ subheading and click ‘set up’ or ‘edit’.
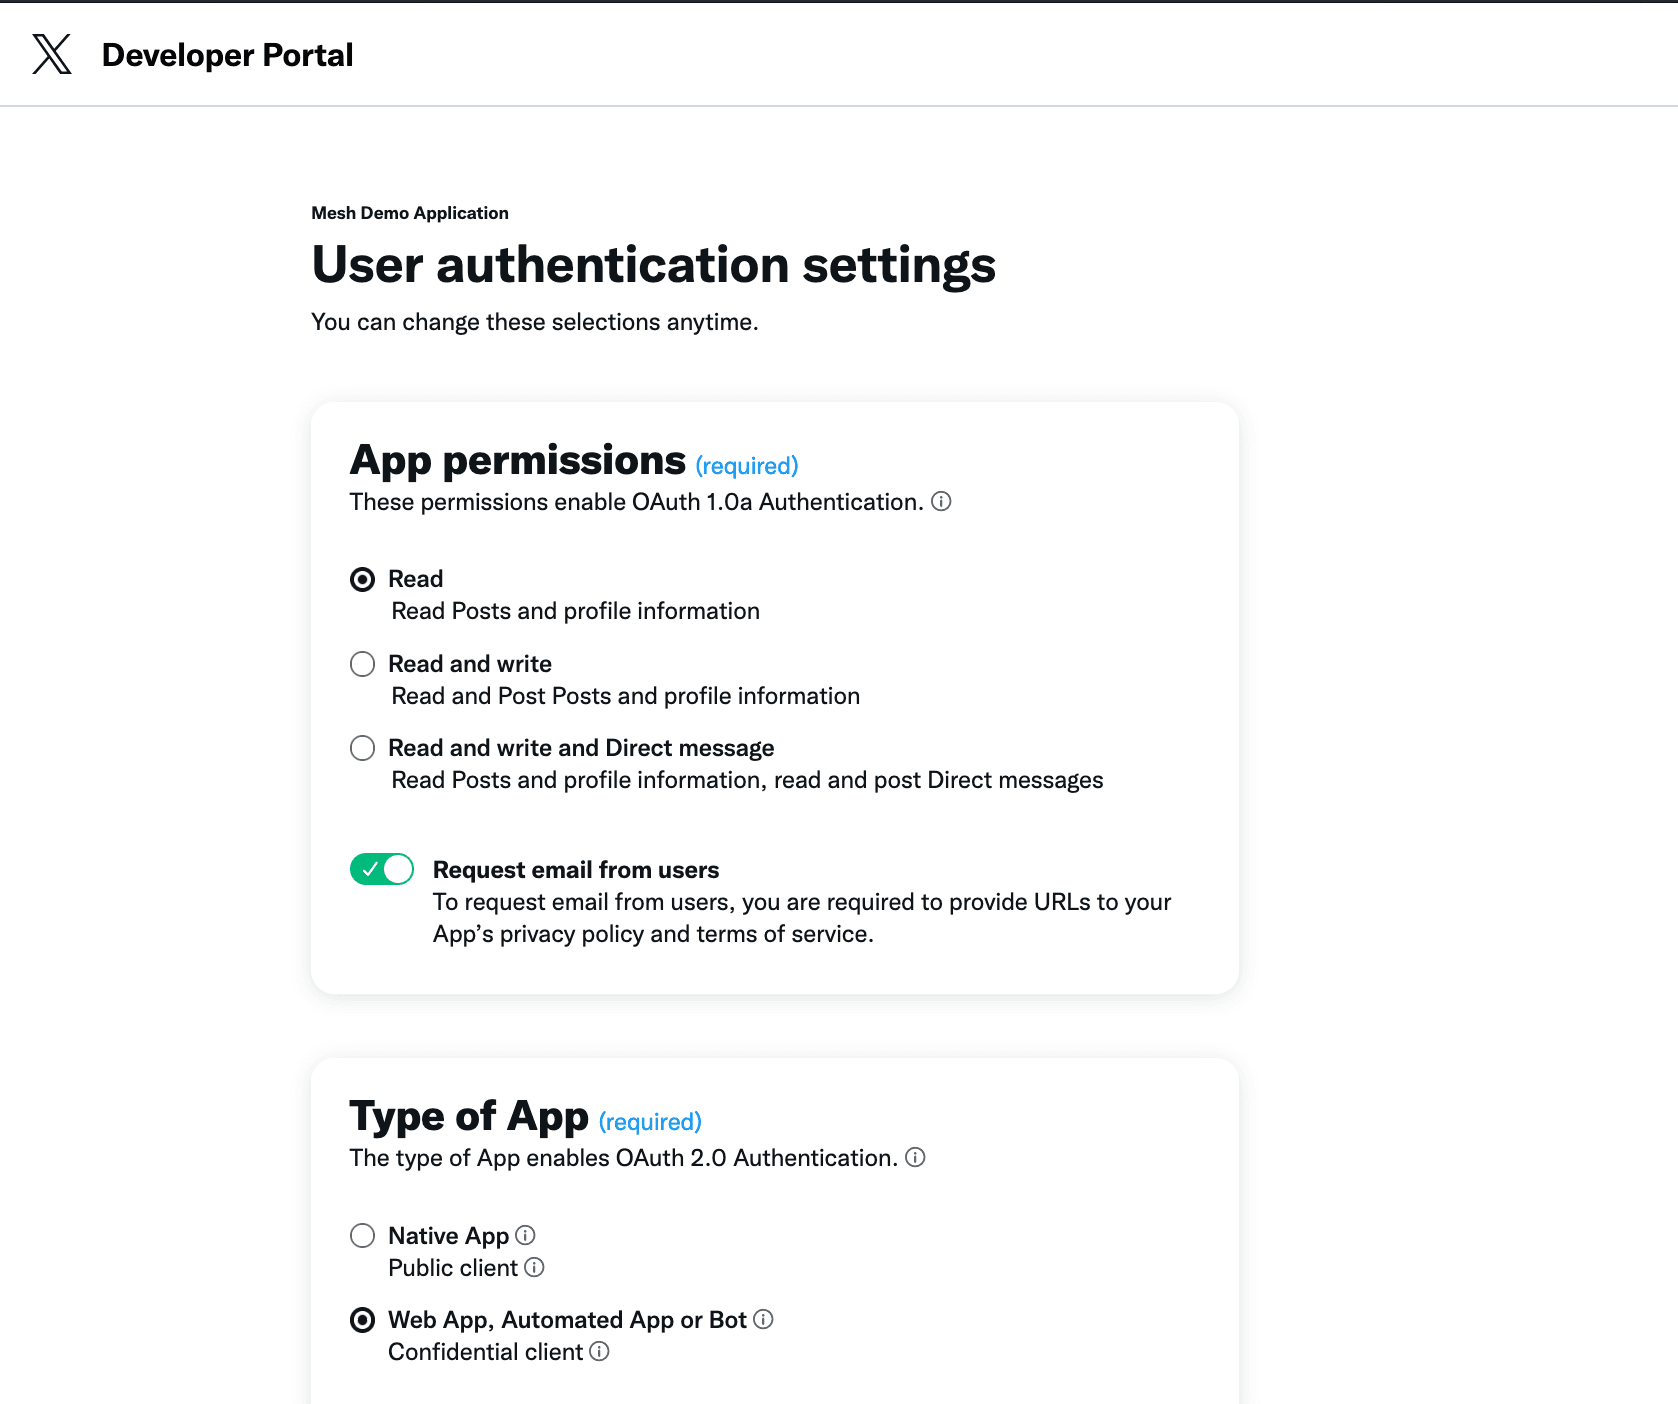
- Configure the app to read profile information, and make it of type web application.
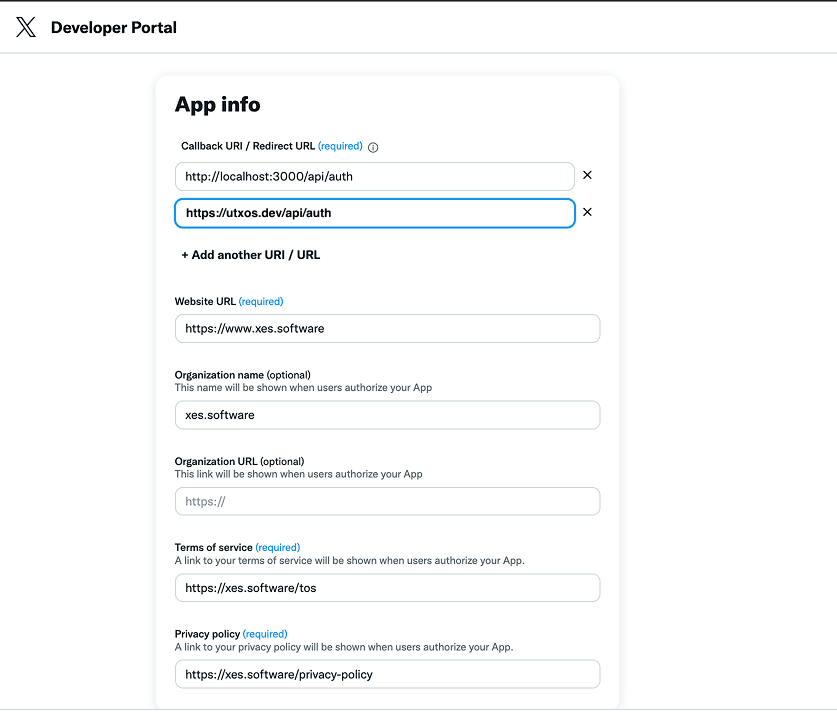
- Scroll to ‘App info’, and configure the ‘Callback URI/Redirect URL’ to point to UTXOS production OAuth2 API URL:
https://utxos.dev/api/auth.
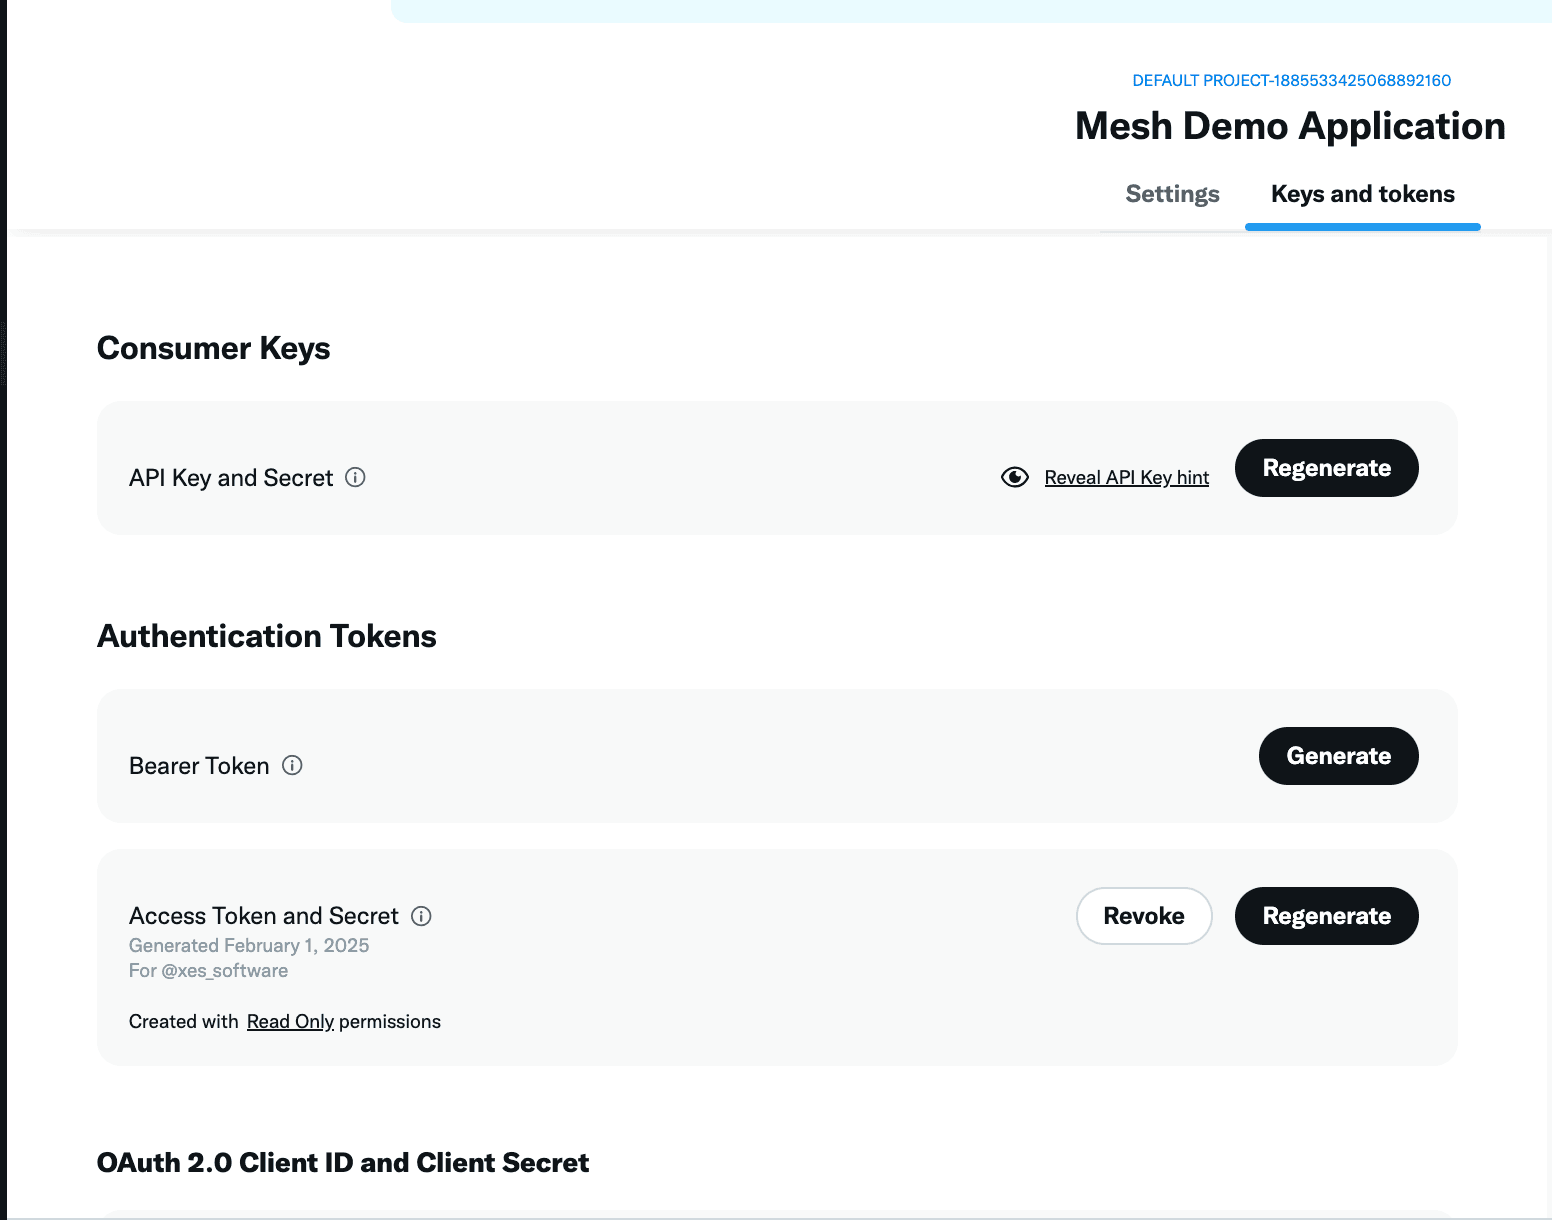
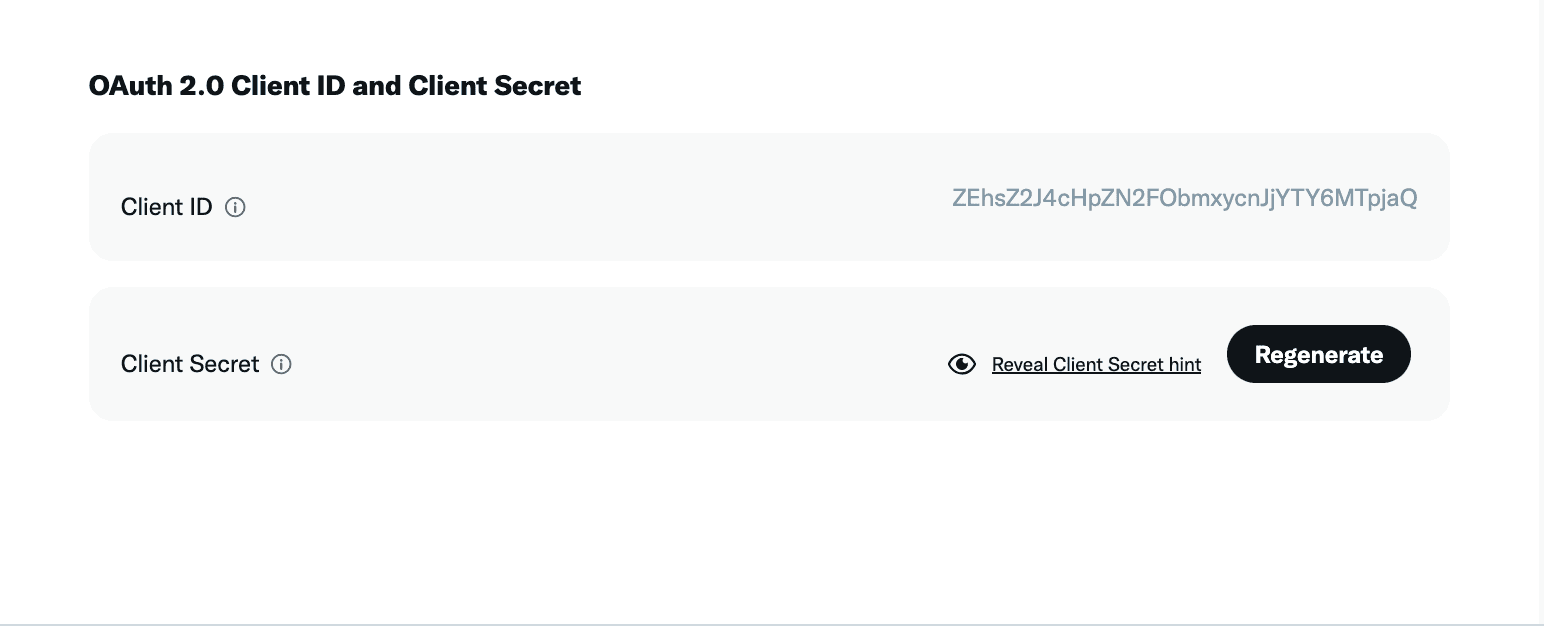
- Navigate back to your application homepage and navigate to the tab ‘Keys & Tokens’. Then find the OAuth2 client & secret section. Copy & store these values.
Configure Authentication Provider
-
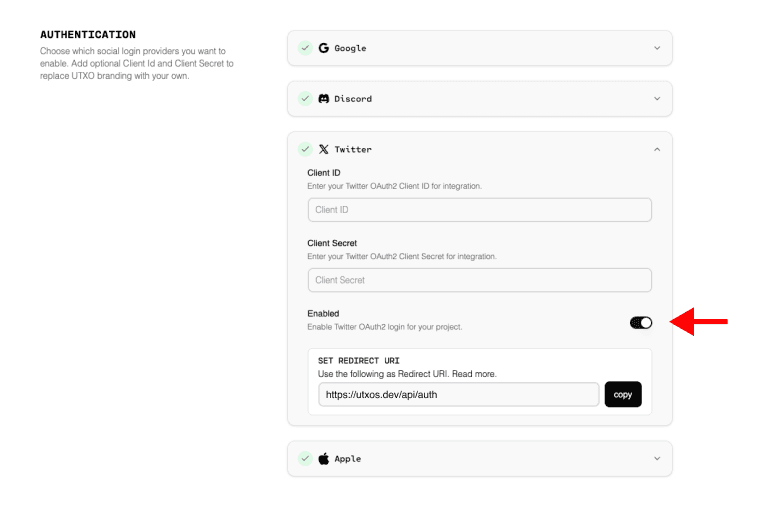
In UTXOS dashboard, edit this project’s settings and navigate to the Authentication section.
-
Select Twitter from the list of providers.
-
Fill in the
Client IDandClient Secretfields with the values from the X Developer Portal. -
Toggle the Enable switch to enable Twitter/X Login.
-
Click on the Save changes button.
Test Twitter/X Login
-
Go to your application and connect wallet.
-
Click on the Login with Twitter/X button.
-
You will be redirected to the Twitter login page.
-
Login with your Twitter credentials.
-
You will be redirected back to your application.
-
You have successfully integrated Twitter Login with your application.